For API testing, there are many tools out there that let you perform the test and collect the results. In this article, We will be focusing on three tools by straight-up showing how to do a request using the Trello API.
But before we start, since we are going to use the Trello API we will need an account, an authorization key, and a token. For API testing and development, this is a pretty common step that is used for security measures since through APIs we can have access to databases and internal functionalities of the code that could be exploited by malicious users. For that, I’ll leave this link with all the steps you need to get started, you can find these steps in the API introduction right below the “Authorization and authentication” section (you will see this as soon as you click on the link).
Once you are all set, let’s get started with the API testing tools.
For example, to get a response from our API using the terminal we will need the command line called “curl” which is commonly used in a lot of software to, you guessed it, transfer data from one another
We are going to add the following command in the OS terminal:
curl –location –request GET ‘https://api.trello.com/1/members/me/boards?key={your-key}&token={your-token} -I’
From here we get all headers
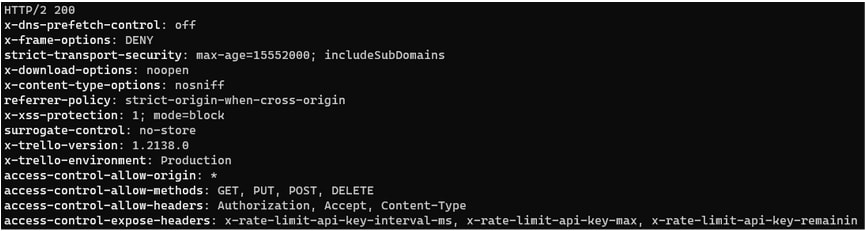
And at the top is the status code for our response.
A cool feature is that we can save the response in a file in case we need it later on for a scan or to validate some of its fields. This can be done by typing the command once again with a simple flag “-o [name of the file]”. For example “-o test_response.txt”
Once you do that you should see in your terminal a meter indicating the download progress
![]()
If you prefer not to add a name to the file just add the flag “-O” to save the file with the URL as the file name.
And finally for when we need to create, update or delete from the cURL we add the following commands according to what we need “-X POST” “-X PUT” “-X DELETE” alongside the “ –data-raw ‘{“param”:”value”}’ ”
Now let’s see how the next tool can handle these same scenarios and what features does it bring to the table:
With postman, we get all the information we need with just one click. Let see the examples below:
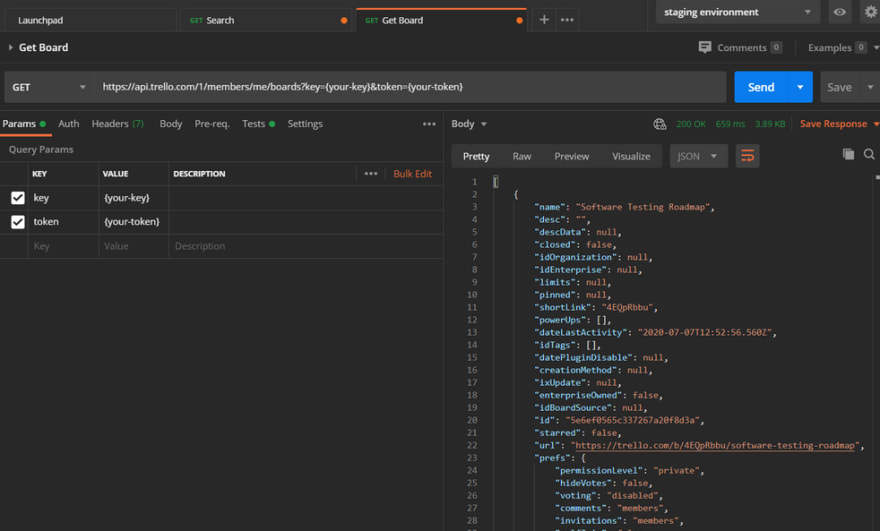
As soon as we send our request we get more information than we can ask for. For starters we get the full response with a pretty format so is a lot more readable and we don’t have to format it on our own, then we have the status code so we know if the request was successful or not, in this case, all went as expected and we got a 200 status code and also a dedicated tab to add params and its values which are directly added to our request URL.
We get all the information we got from the OS terminal in just one click, which saves us time and effort in order to be more efficient at testing our API.
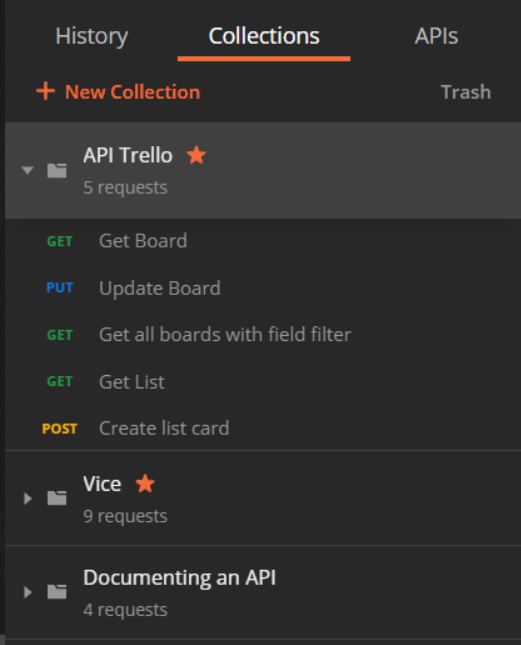
With that example, there are other key features that postman gets to our disposal like saving our request into a collection (Set of request URLs saved into a folder) in which we retrieve the URL at any moment without typing it into the input all over again.
We can also export the request for further use into a test report or run it into a CI tool like circle CI or Jenkins.
Postman gives us the chance to work with multiple requests in different tabs.

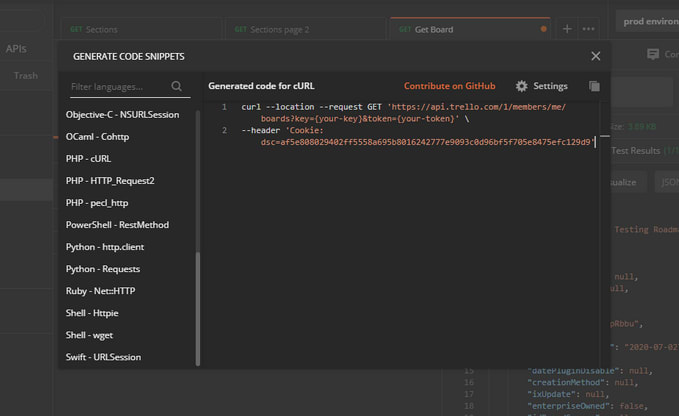
In case we need to get the request in a particular language it gives us the code snippet to do so by clicking code in the params type.
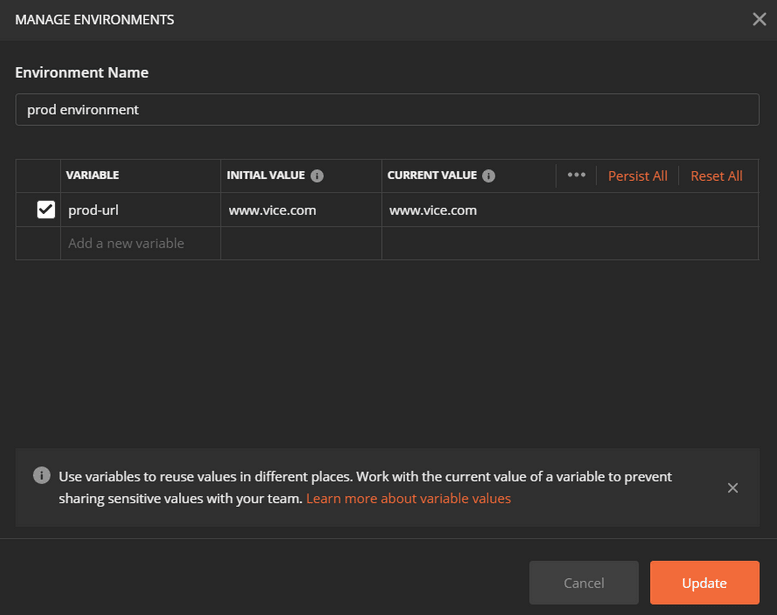
We can manage different environments in which we can store different variables, the variables can be named however the user wants and assign the values, like the common parts of the request URL so the user just has to handle the request.

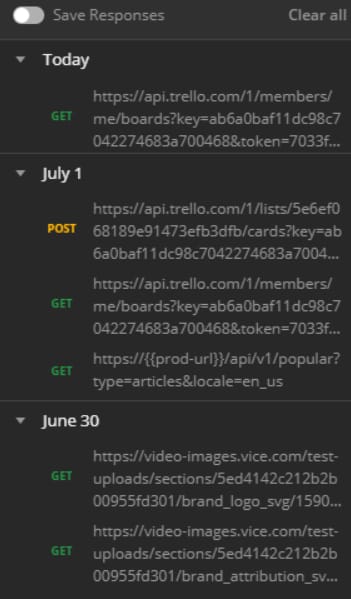
A history of all the requests we have done recently so the user can go back and do the same request with specific params or just execute it once more.
Postman has a dedicated section to add scripted tests in Javascript.

It includes predefined code snippets we can use.
A console where we can see our response HTTP and print messages.

These are what I consider the key features that postman let us work with to have a smoother experience while testing with API in general.
Let’s keep going with the same example
Our first impression of SoapUI as soon as we enter is that it will prompt us with the endpoint explorer which lets us make the request to our Trello API like previous tools but in this case like the terminal, we get a raw text response.
Let’s keep going with the same example
Our first impression of SoapUI as soon as we enter is that it will prompt us with the endpoint explorer which lets us make the request to our Trello API like previous tools but in this case like the terminal, we get a raw text response.
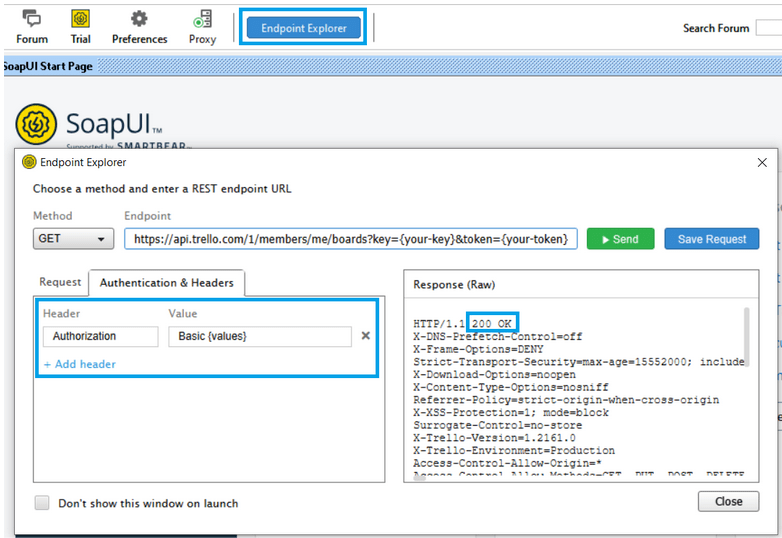
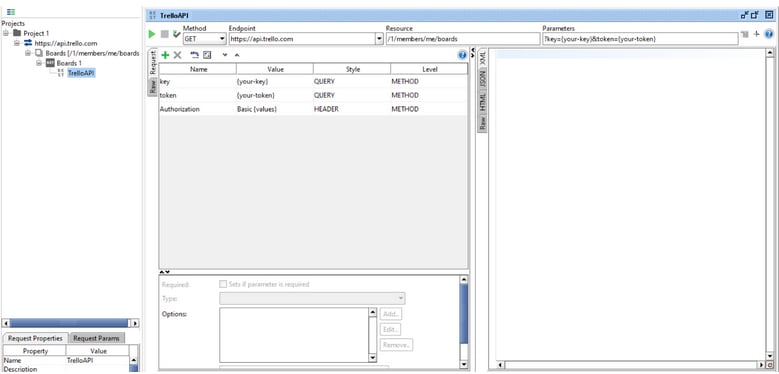
Also, it can be noticed that we can add headers to our request in case we need authorization for example and that at the top of our raw text we have the response status.
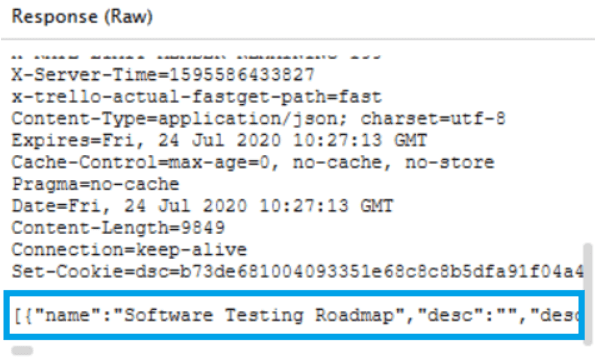
At the bottom, we can see the unformatted JSON with the data that we need. Unfortunately from the Endpoint prompt, we can’t make it look pretty so what we need to do is inside a project. The first step to do so is to click on the save request (blue) button right next to the send (green) button.
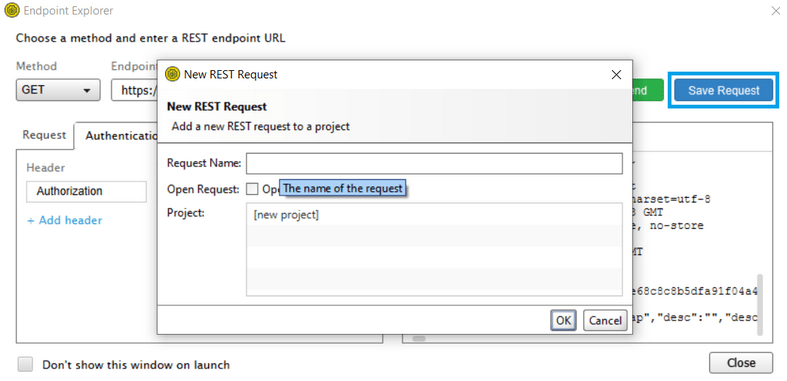
Set Up a name for your request to save it and click the OK button, this action will create the project that will be displayed to the left side of the program.
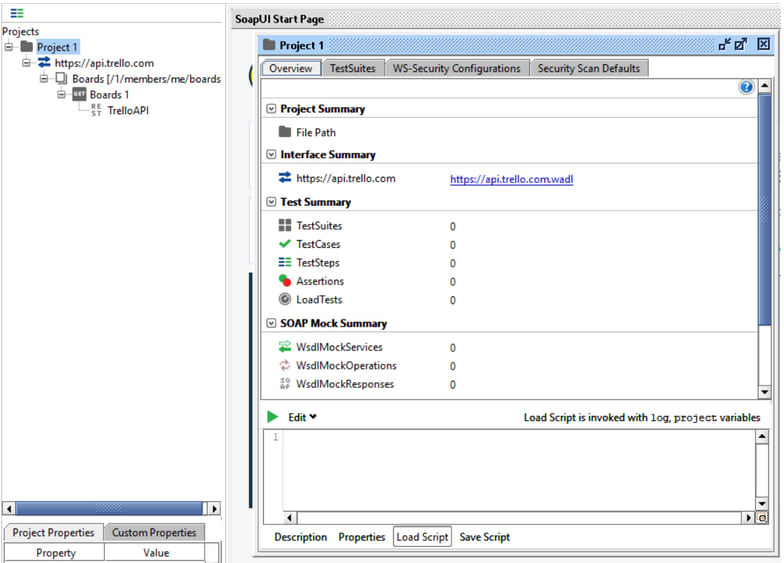
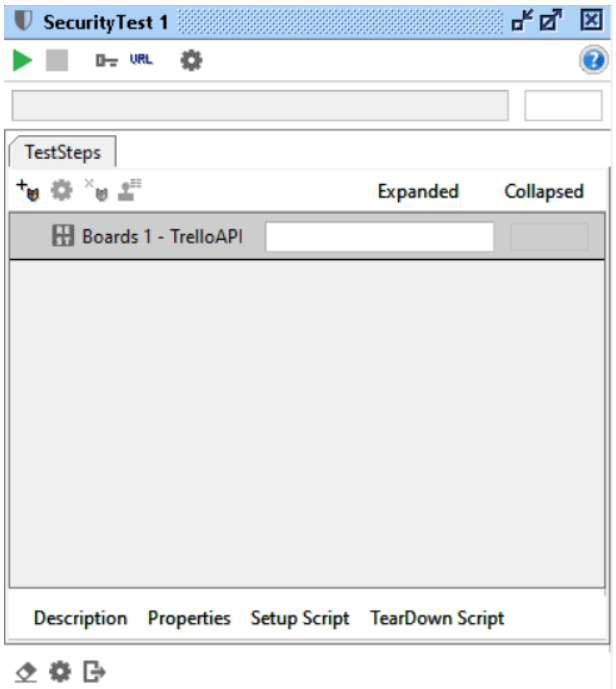
Double click on “Project 1” (you can right-click on it if you want to change its name) and you will have an overview of all the components of your project, but for now, I’ll focus on the request. Expand the project folder until you request the request which is in the last layer and click “TrelloAPI”.
As soon as you click on the send request button you will notice a message that says “The content you are trying to view cannot be viewed as XML” that is because is the default of multiple views we have for our response, to the left side you will notice four tabs XML, JSON, HTML and Raw.
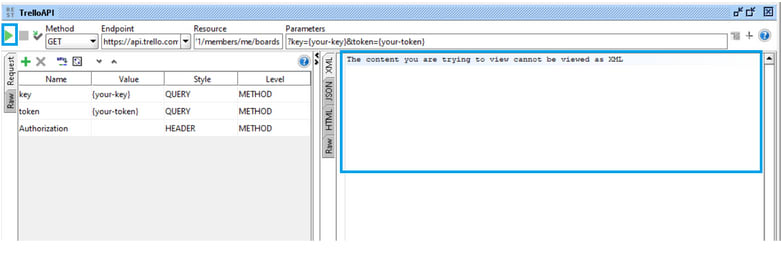
Click on JSON and we will get the pretty formatted response.
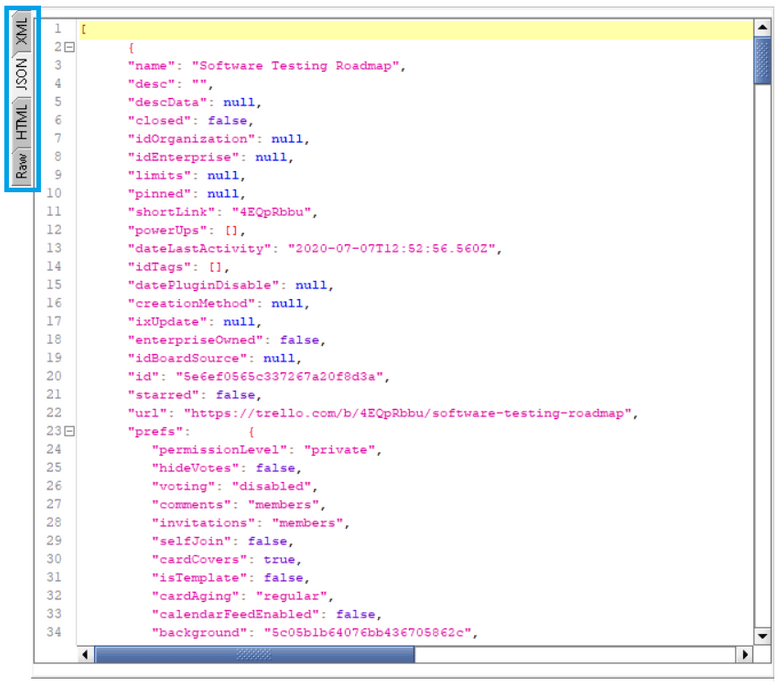
You can check the other tabs whenever applicable.
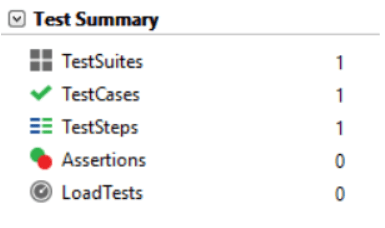
SoapUI gives us a big variety of features to let us apply API testing more efficiently. The first one I would like to highlight is setting our tests into test suites each one with its test cases and test steps making it easy for the tester to group the tests in logical units.
Support for WSDL and SOAP services
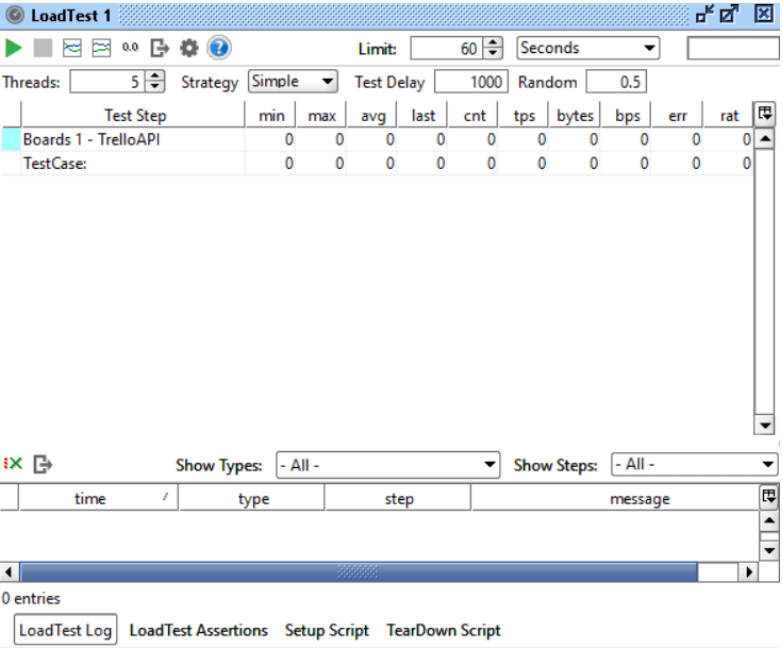
Load and security testing dedicated inputs for testing
For this section, I’ll be adding things to consider for each of the tools so you can choose depending on your work environment and necessities.
Lack of user interface and hand-holding. This is the most obvious since the user would need previous knowledge of the commands that are needed to send the requests and get the response in a readable format. The terminal can be customized to ease this problem but it would be an extra layer of configuration outside the main purpose of testing.
Missing test monitoring. This missing functionality can be a letdown to many developers or testers in case they wanted to rely on a single tool to work on all testing suites.
Learning curve. SoapUI is a powerful tool but it comes with some challenges and a not so user-friendly interface. It will take some time for the user to understand the project structure based on the different components like test suites, test cases, assertions, and load tests to get full advantage of the tool.
For Postman and SoapUI, there are some features that are behind a paywall but I don’t consider that it is necessarily a disadvantage since those features are mostly to work with a team of 5 or more people required to share a project. But for an individual user, the features available for free are more than enough to get the job done.
Up until this point we have seen some of the features on each tool following one scenario, in this article I’ve talked about features that are not related to automated testing since I think that should be a topic of its own. Each tool has pros and cons comparing them to each other, but all of them can help the tester depending on the requirements of the test assigned, it would be up to the tester to decide what strategy to follow with one of these tools.
This article was written by Manuel Mariñez
Software Testing Engineer TechAID
Twitter: MarinezBay
Blog: dev.to/mmarinez20